Override Academic Requirements in Workday: Adjust Units
This article will walk a user through using the Adjust Units Academic Override in Workday.
Academic Requirements Override
There are six types of Academic Requirement Overrides, all of which may be initiated by any of a student’s advisors.
Assign Course to Requirement: The most commonly used of the overrides. Allows a course (already In-Progress or Completed) to be added and applied towards the requirement.
Add Course: Allows a new course to be applied towards the academic requirement. Best used for courses a student has not yet enrolled in.
Adjust Units: Allows the number of units on an academic requirement to be changed for a student.
Adjust Course Count: Allows the number of courses needed to fulfill an academic requirement to be changed.
Course Substitution: Allows a specific course to be removed from an academic requirement and replaced with a different course. Additionally, this allows a specific course to be removed without a replacement.
Waive Requirement: Allows the student to no longer need the entire academic requirement.
How to Apply an Academic Requirement Override in Workday
Adjust Units
Allows a new course to be applied towards the academic requirement.
Quick Search: Override Academic Requirement for Student
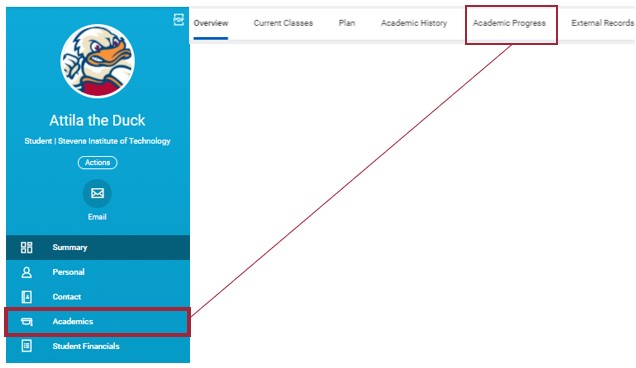
Step 1: From the Workday homepage, enter Student’s Name in the search bar.

Step 2: Select student’s Academics tab, then select Academic Progress.
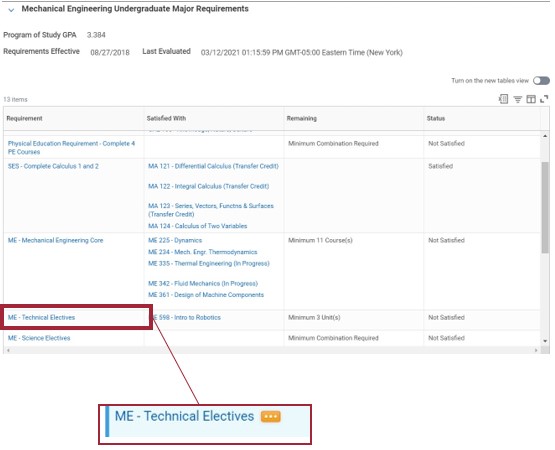
Step 3: Scroll down to the student’s Academic Requirements and select Related Actions icon next to the academic requirement you are modifying.
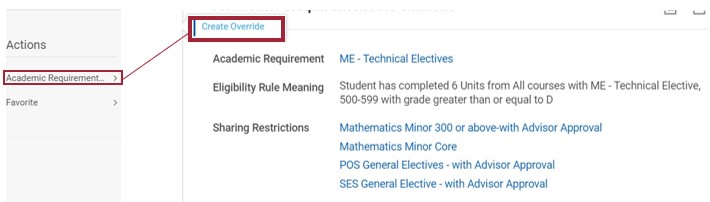
Step 4: Select Academic Requirement located in the Actions section then select Create Override.
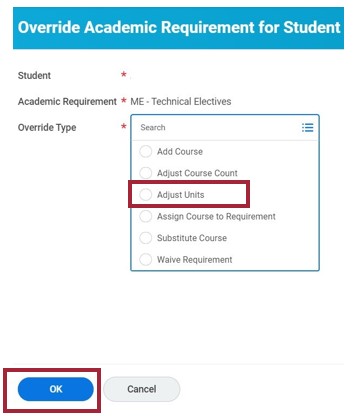
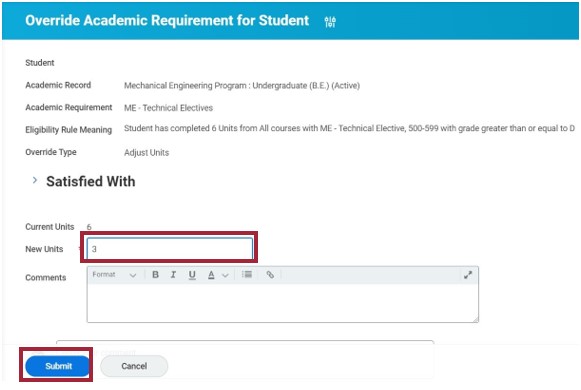
Step 5: On the Override Academic Requirement for Student page, select Adjust Units, then select OK.
Step 6: Locate the New Units box (marked with a *) and enter the new number of units required, then select Submit.
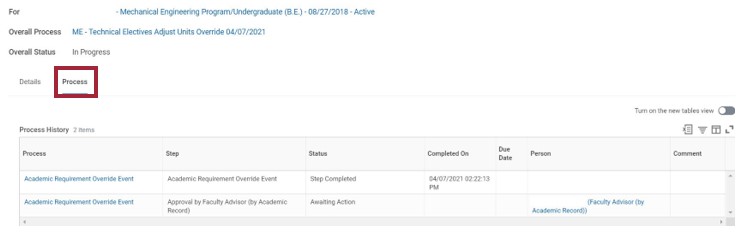
Step 7: Click on the Process tab for the next steps in the process (in this example, the request routes to the student’s Faculty Advisor).
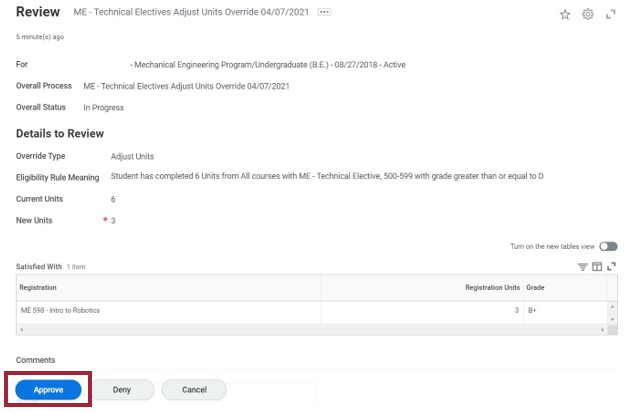
Step 8: In the Faculty Advisor’s Inbox, the request can be reviewed, then select Approve.
Step 9: Click on the Process tab for the final step in the process (in this example, the request routes to the Academic Advising Manager).
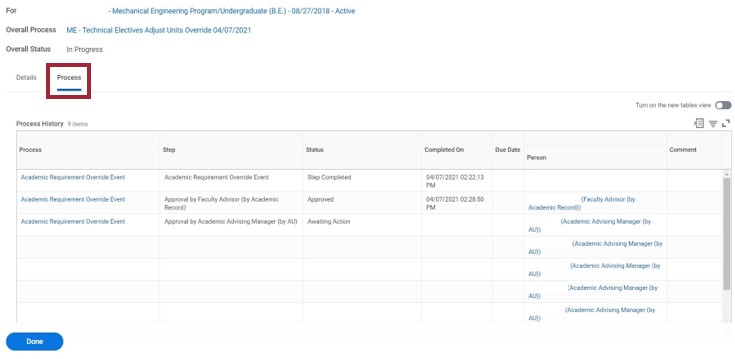
Step 10: Academic Advising Manager reviews the request and selects Approve. The process is now complete.

Step 11: The override now appears on the student’s Academic Progress tab as “Override Assigned”.

Experiencing an issue or need additional support? Contact our OneIT Team by