Override a Student Hold in Workday
This article shows a user how to override a Student hold in Workday.
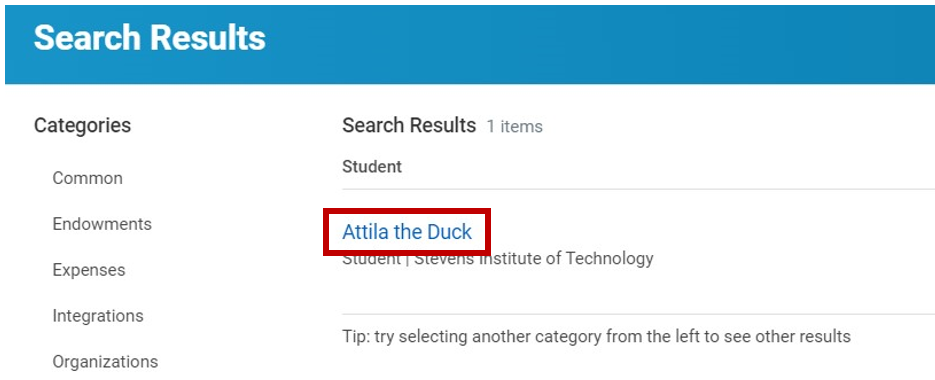
Step 1: From your Workday homepage, search for the student’s profile

Step 2: Select Student
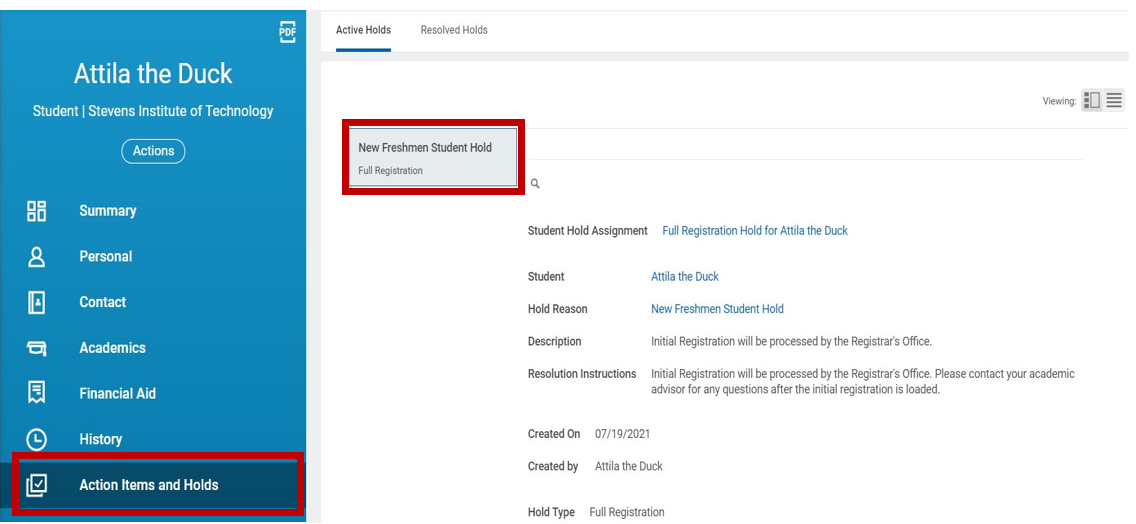
Step 3: On the student’s profile, select Action Items and Holds tab. Under Active Holds, identify the hold you wish to override.
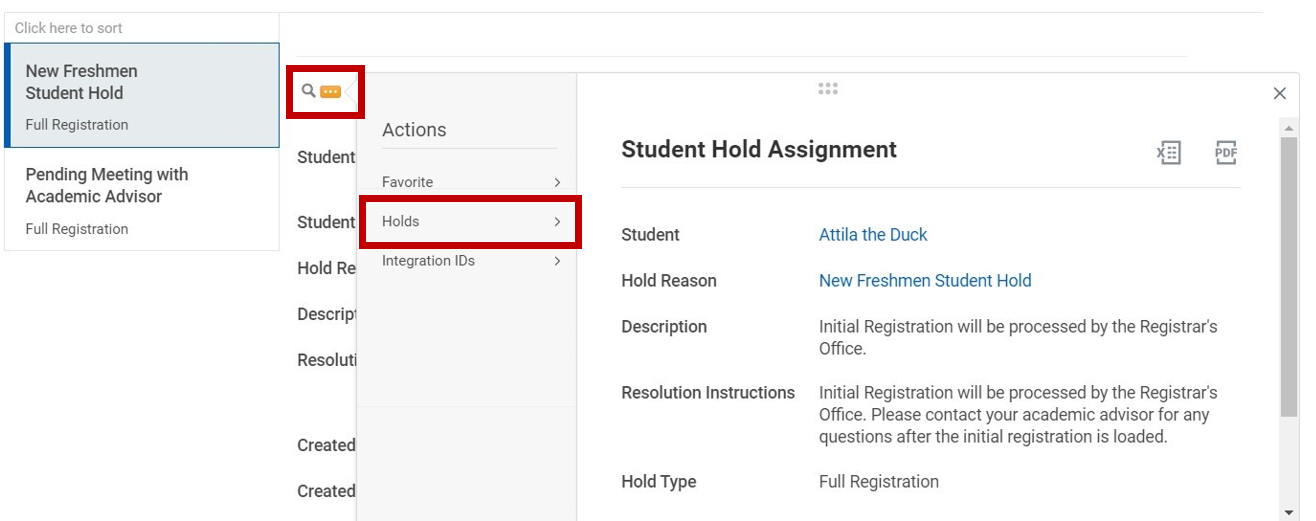
Step 4: Next to the magnifying glass icon, select Related Actions and hover to the Holds tab.
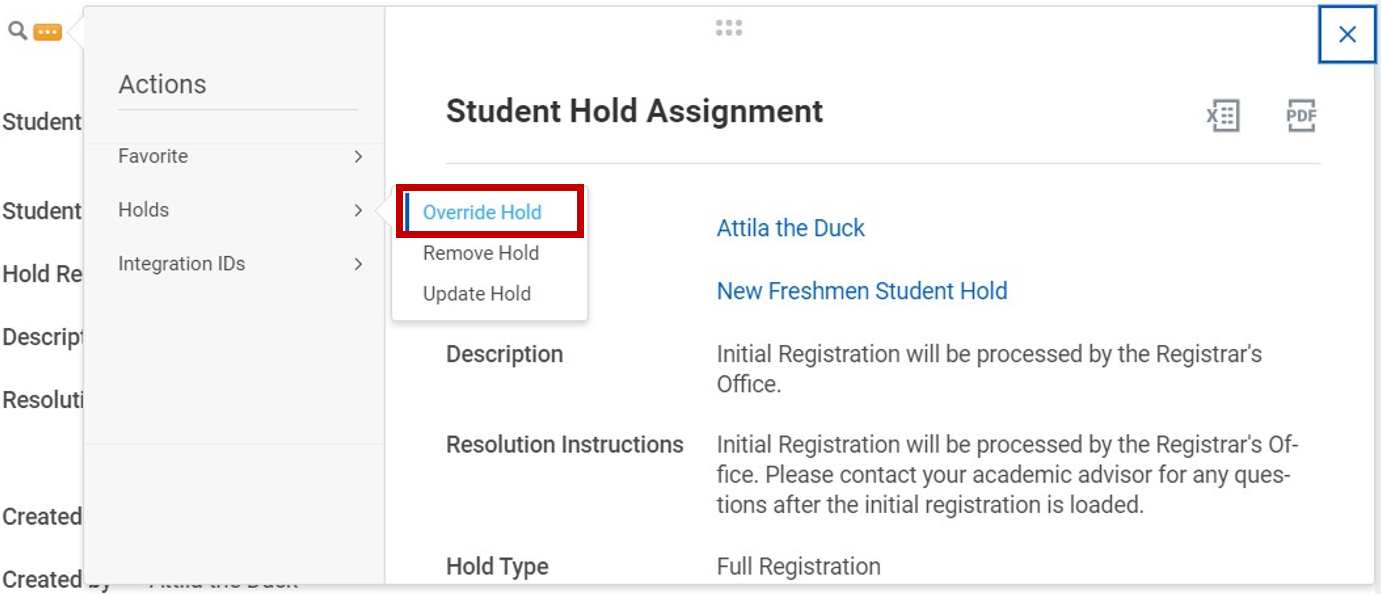
Step 5: Review Student Hold Assignment – Select Override Hold
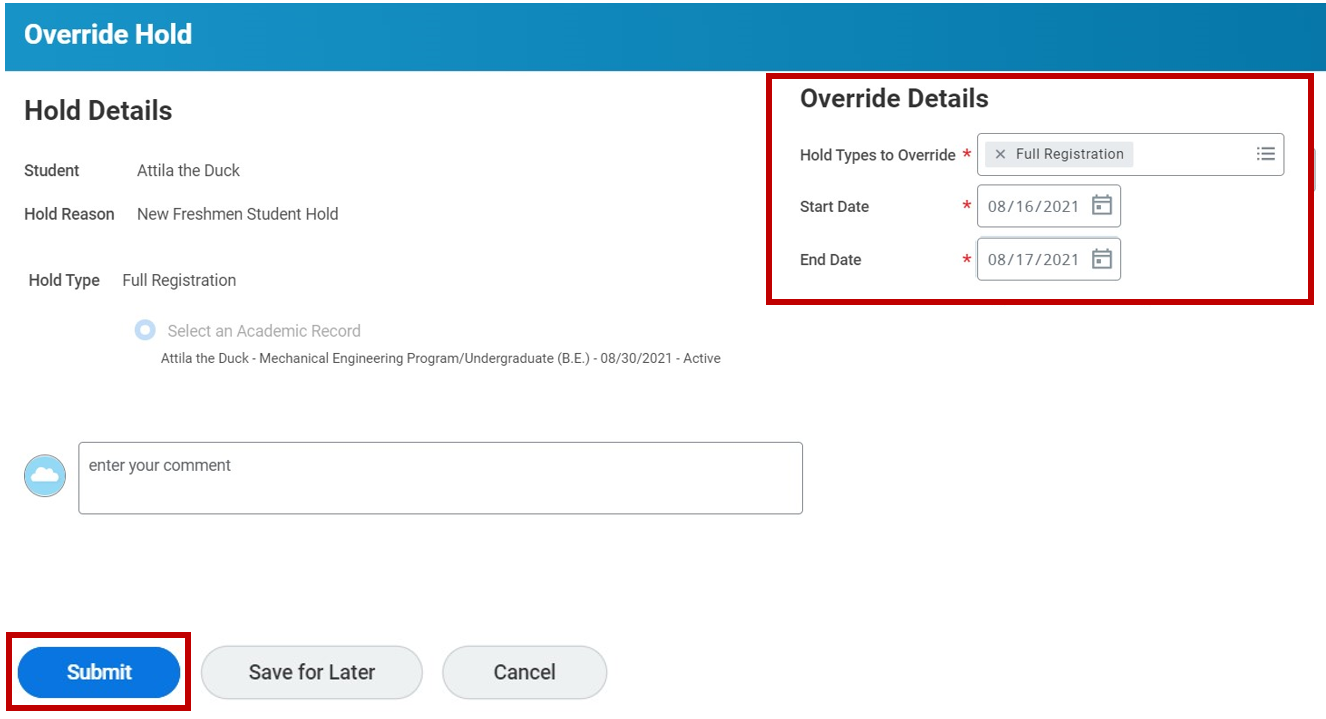
Step 6: Choose Hold Types to Override, a Start Date, and an End Date for the Override Details. Select Submit when done.
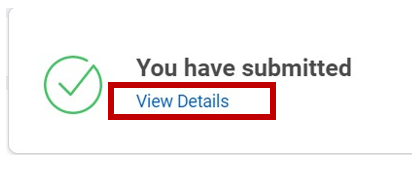
Step 7: Click on View Details.
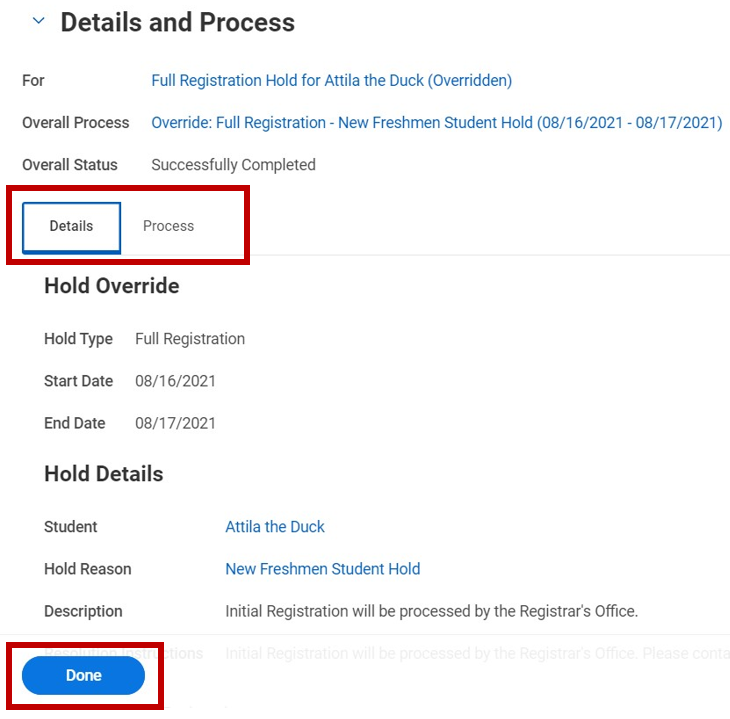
Step 8: Review Details and Process tabs - Select Done.
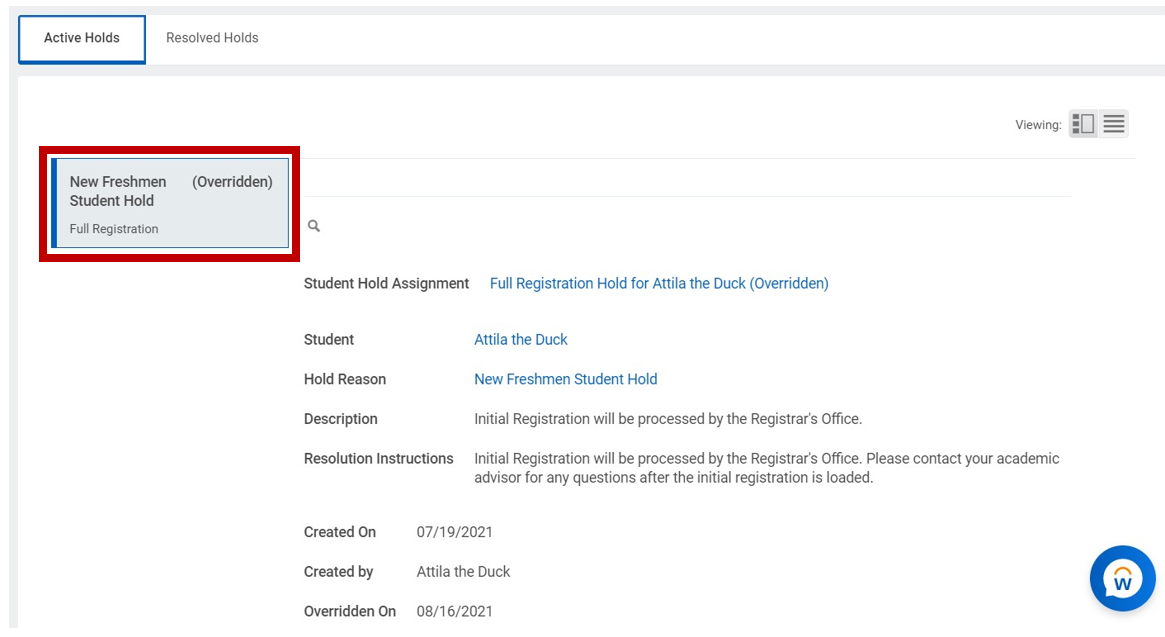
Step 9: The Hold now appears on the student’s Active Holds as Overridden.
Experiencing an issue or need additional support? Contact our OneIT Team by