Use the Mover.io tool to migrate files from Box to OneDrive.
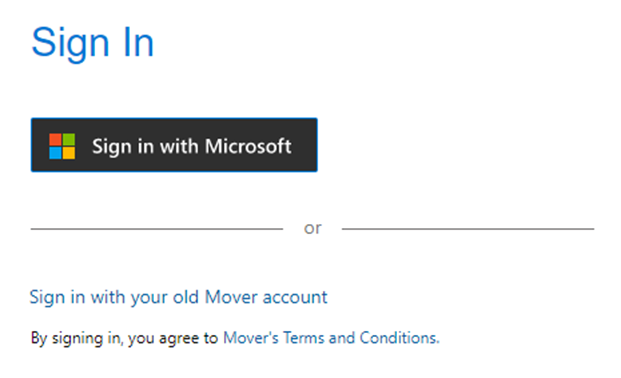
Step 1: Visit https://app.mover.io and select Sign in with Microsoft.
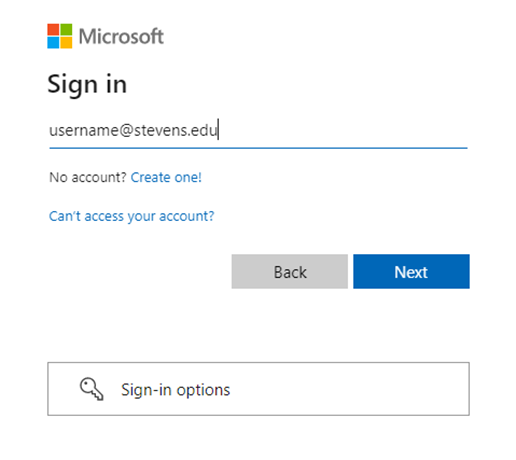
Step 3: Enter your Stevens email address and select Next.
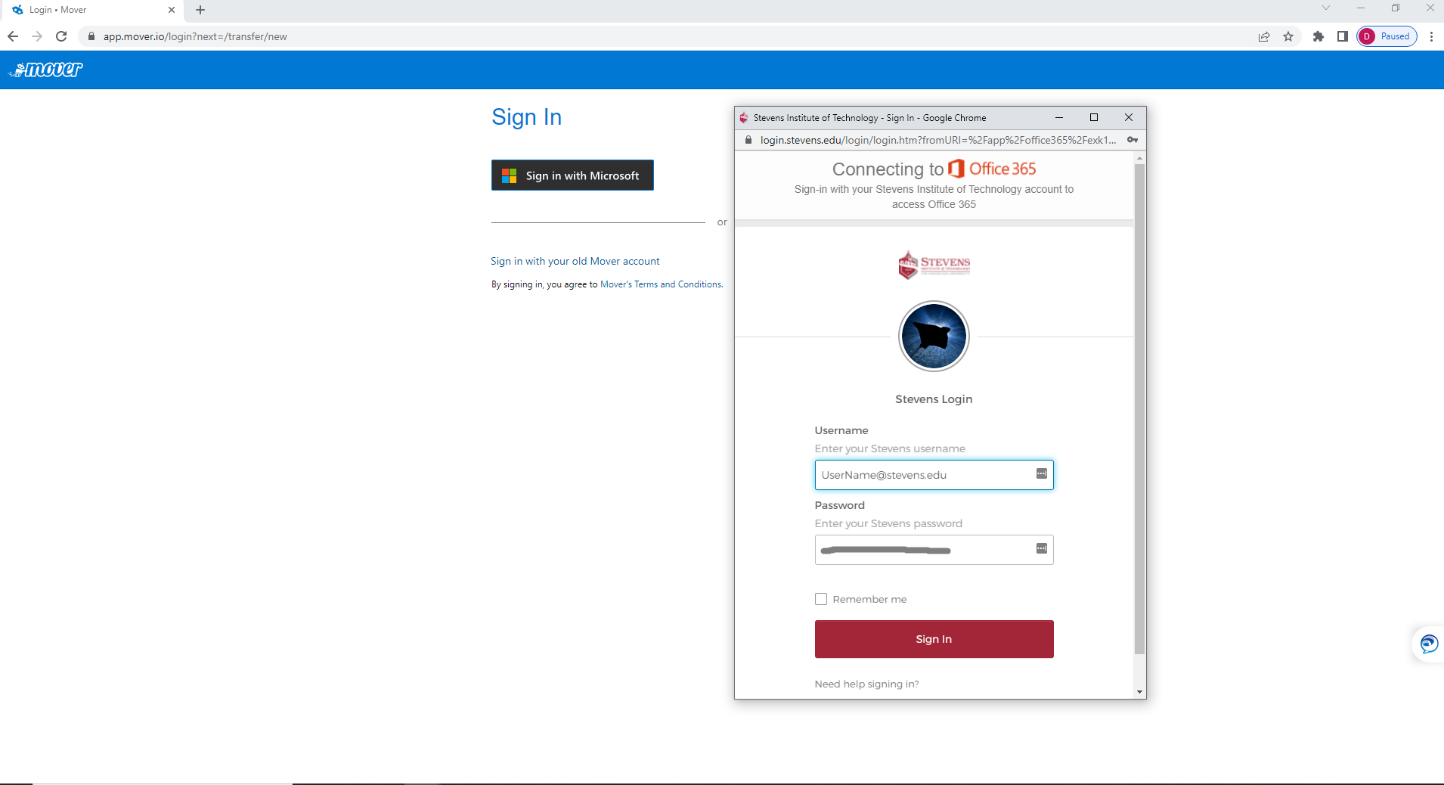
Step 4: Enter your Stevens username and password then select Sign In.
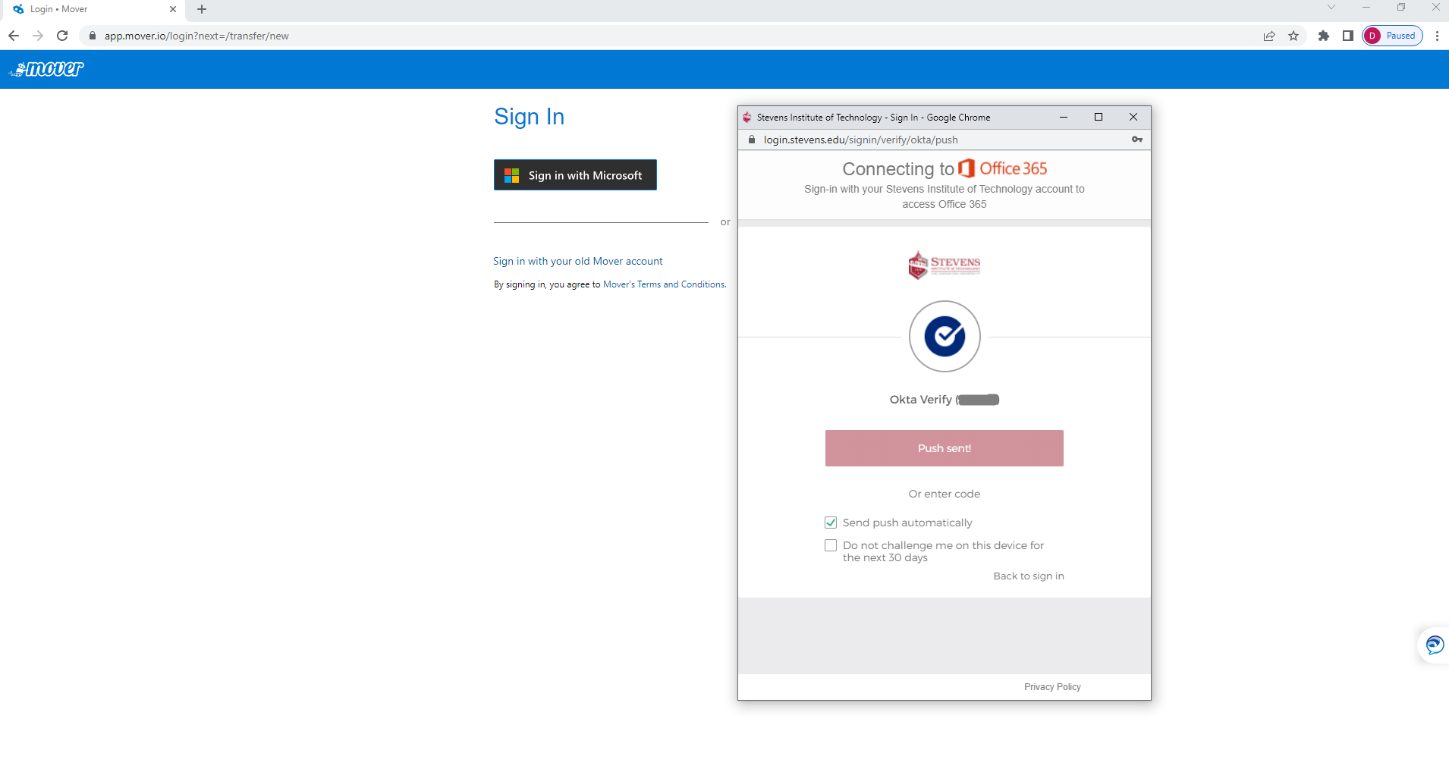
Step 5: Confirm your identity with the Identity and Access Management system (Okta).
Step 6: On the Mover.io homepage select the Transfer Wizard, then select Authorize New Connector under 'Step 1: Select source'.

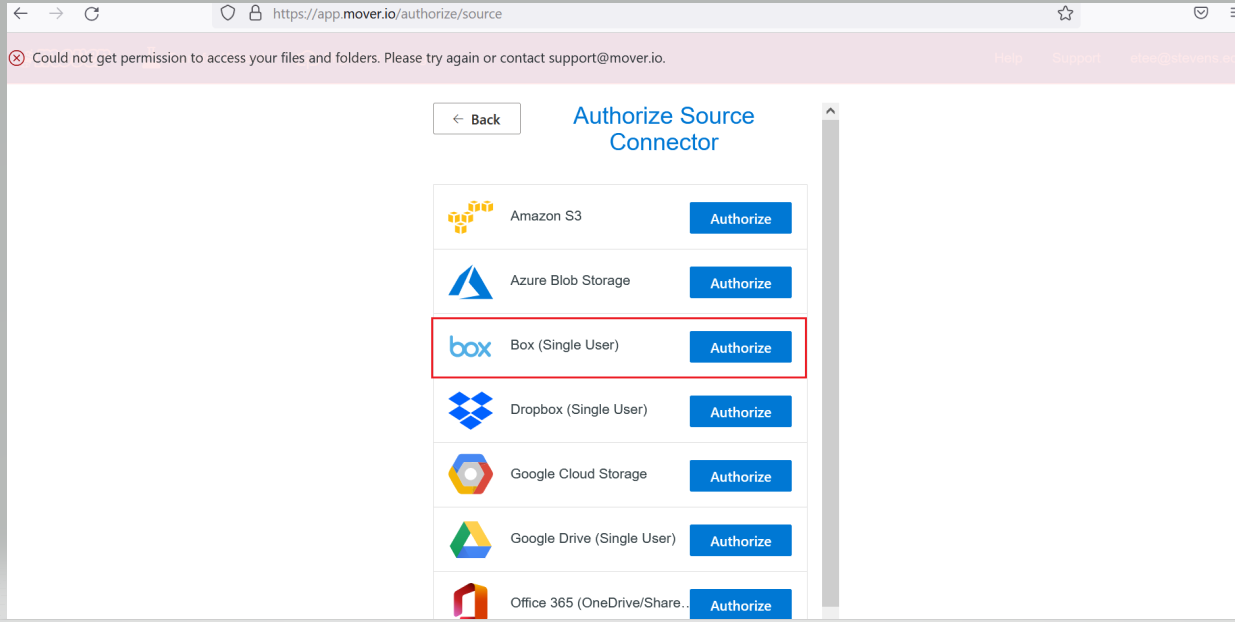
Step 7: Choose 'Box (Single User)' by selecting Authorize.
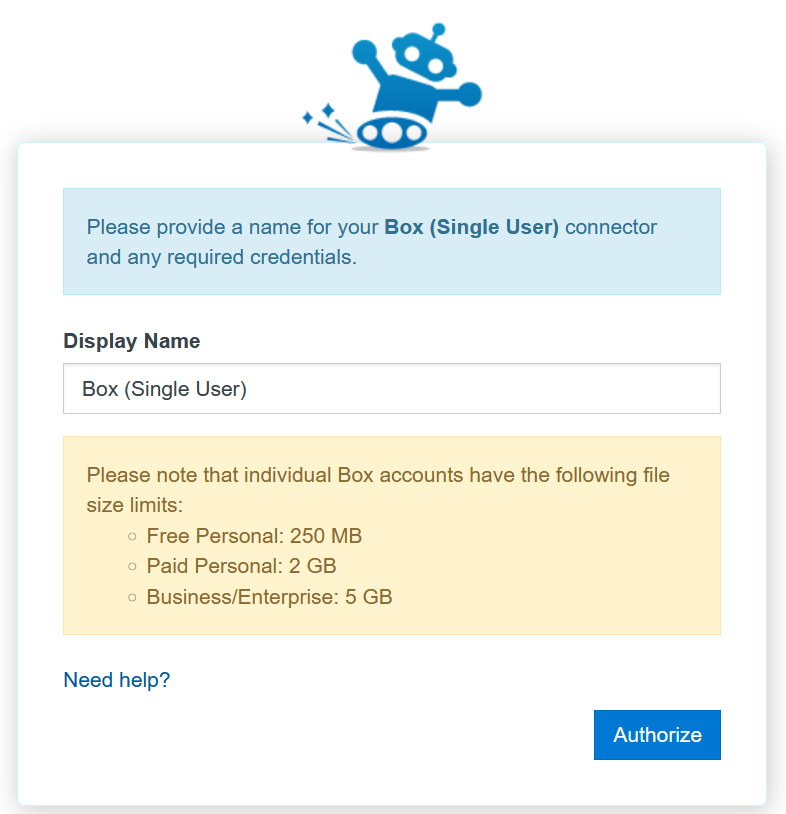
Step 8: Leave the default name and select Authorize.
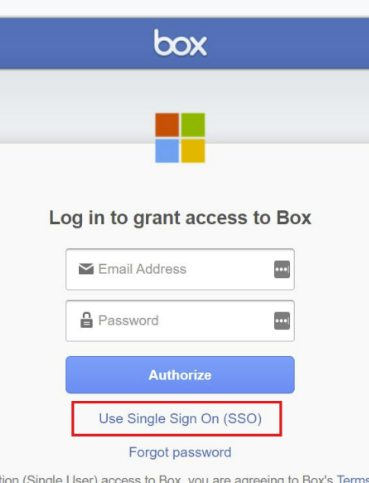
Step 9: Select Single Sign On (SSO) and enter your Stevens credentials to gain access to your Box account.
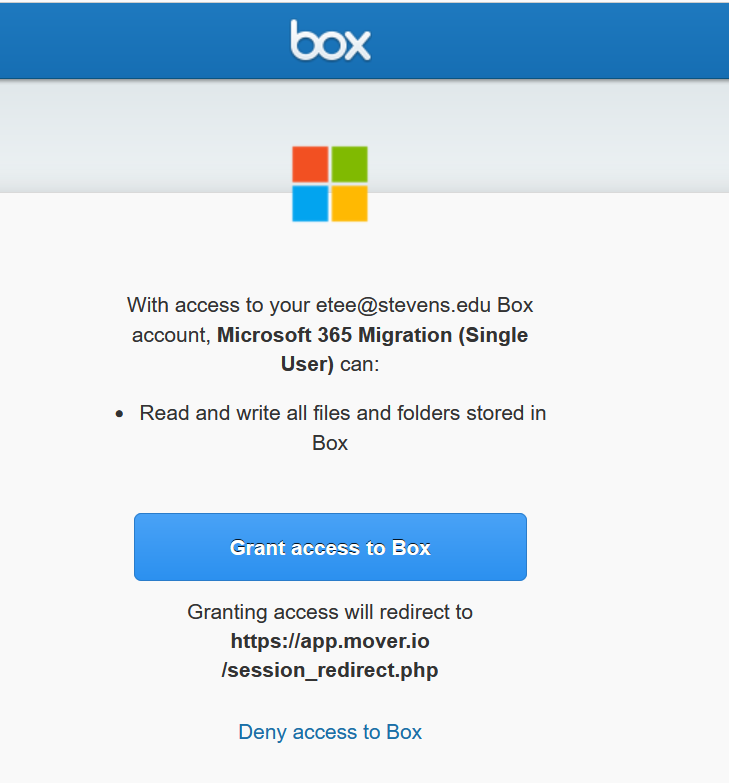
Step 10: Select Grant access to Box.
Step 11: Choose 'One Drive for Business (Single User)' by selecting Authorize.

Step 12: Leave the default name and select Authorize.
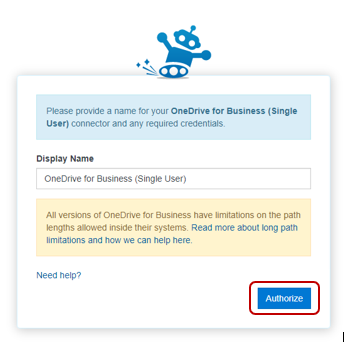
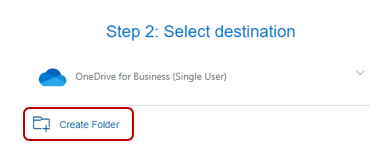
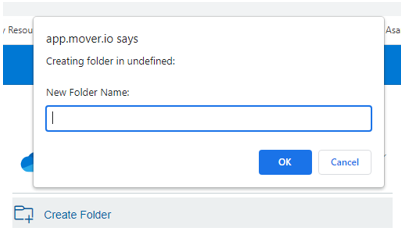
Step 13: Before proceeding, create a new folder in OneDrive by clicking the Create Folder link at the top. Name folder 'BoxMover'. Enter this directory by clicking on the folder you created 'BoxMover'.
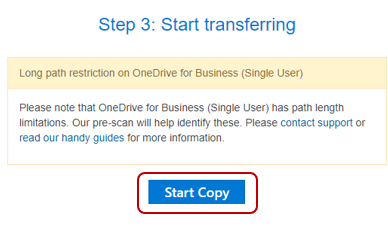
Step 14: Initiate the files transferring by clicking Start Copy in 'Step 3: Start transferring'.
Step 15: The new data transfer will be created, and you will be forwarded to the status page https://app.mover.io/migrations. Depending on the amount of data in your Box Drive it may take some time (from several minutes to several hours) to complete the transferring. Check the status of transfer on the status page.
Note: Mover.io is unable to migrate certain file types to Microsoft. For more detailed information visit the Microsoft 365 FAQs for Mover.
To verify that all your files have been transferred successfully, login to your OneDrive at https://stevens.edu/onedrive and check the folder “BoxMover”.
Experiencing an issue or need additional support? Contact our OneIT Team by