How to Configure Eduroam on Windows Devices
Step-by-step instructions on how to configure Eduroam on a Windows device.
Before you start
- Available to Stevens Faculty and Staff traveling to participating Eduroam institutions.
- Stevens Faculty and Staff should continue connecting to Stevens-Net while on campus.
- For best Wi-Fi connectivity, we recommend that you install the latest version of Windows Operating System.
Step 1: Visit https://stevens.edu/eduroam. Select Allow if you receive a download warning.
Step 2: Ensure that the 'Select your device' drop down shows the correct Operating System (i.e. Windows 10), then select Join Now.

Step 3: When prompted download the SecureW2 application and select Save and then open the file that was downloaded.

Step 4: Select Run when receiving the warning prompt about SmartScreen.

Step 5: Select yes on the (UAC-User Account Control) prompt for authentication.
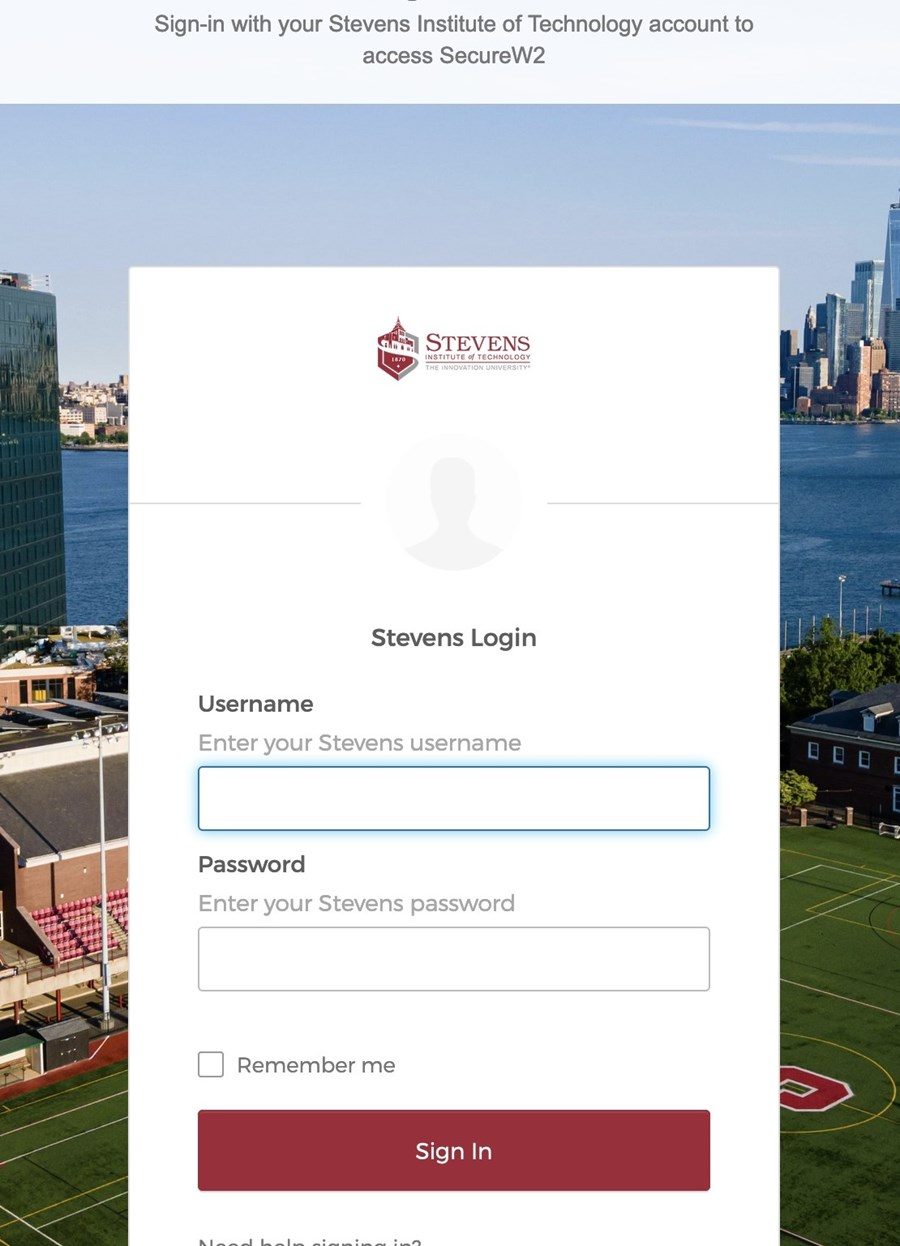
Step 6: Enter your Stevens username and password to authenticate with Single Sign-On and select Sign In.

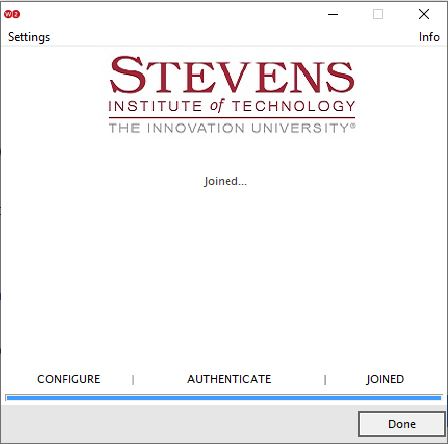
Step 7: In the SecureW2 application it will say 'Joined' once the Wireless Configuration is complete, select Done.

Note: If you are completing this processing from home or at a location where Eduroam is not available, you will see the message below.

Please select Continue and Done on the next screen to progress. Your device is now configured for Eduroam.
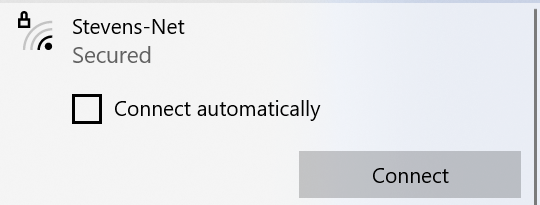
Note: If you are completing this process on campus, you may automatically be connected to Eduroam. If so, please reconnect back to Stevens-Net.

Experiencing an issue or need additional support? Contact our OneIT Team by