How to Configure Eduroam on Mac Devices
Step-by-step instructions on how to configure Eduroam on a Mac device.
Before you start
- Available to Stevens Faculty and Staff traveling to participating Eduroam institutions.
- Stevens Faculty and Staff should continue connecting to Stevens-Net while on campus.
- For best Wi-Fi connectivity, we recommend that you install the latest version of Mac Operating System (OS), Big Sur.
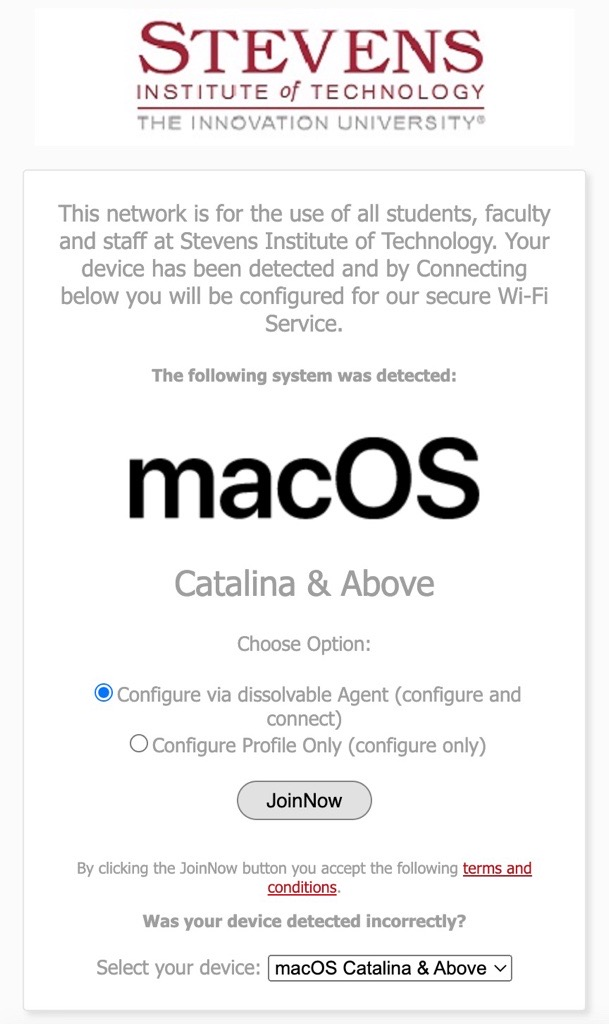
Step 1: Visit https://stevens.edu/eduroam.
Step 2: Ensure that the 'Select your device' drop down shows the correct Operating System (i.e. Catalina & Above), then select Join Now.
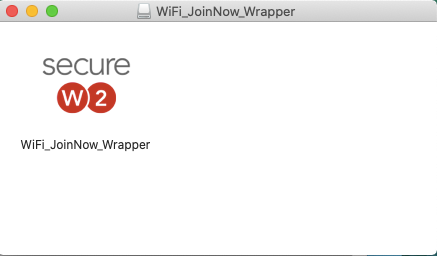
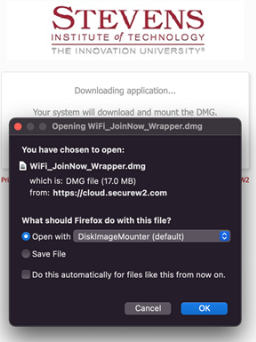
Step 3: When prompted download the SecureW2 application. Open your Downloads folder and open the "WiFi_JoinNow_Wrapper.dmg" application.
If the option appears, open the file using "DiskImageMounter (Default)" and select OK.
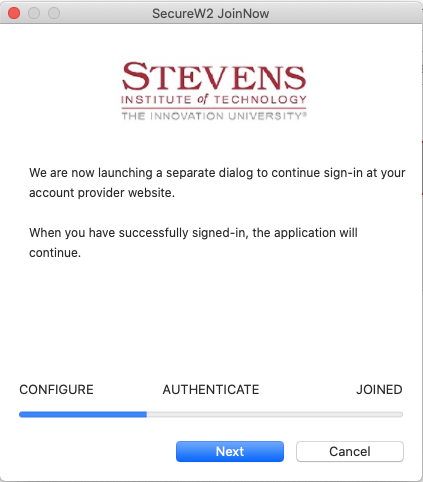
Step 4: On the SecureW2 application, select Next to prompt authentication.
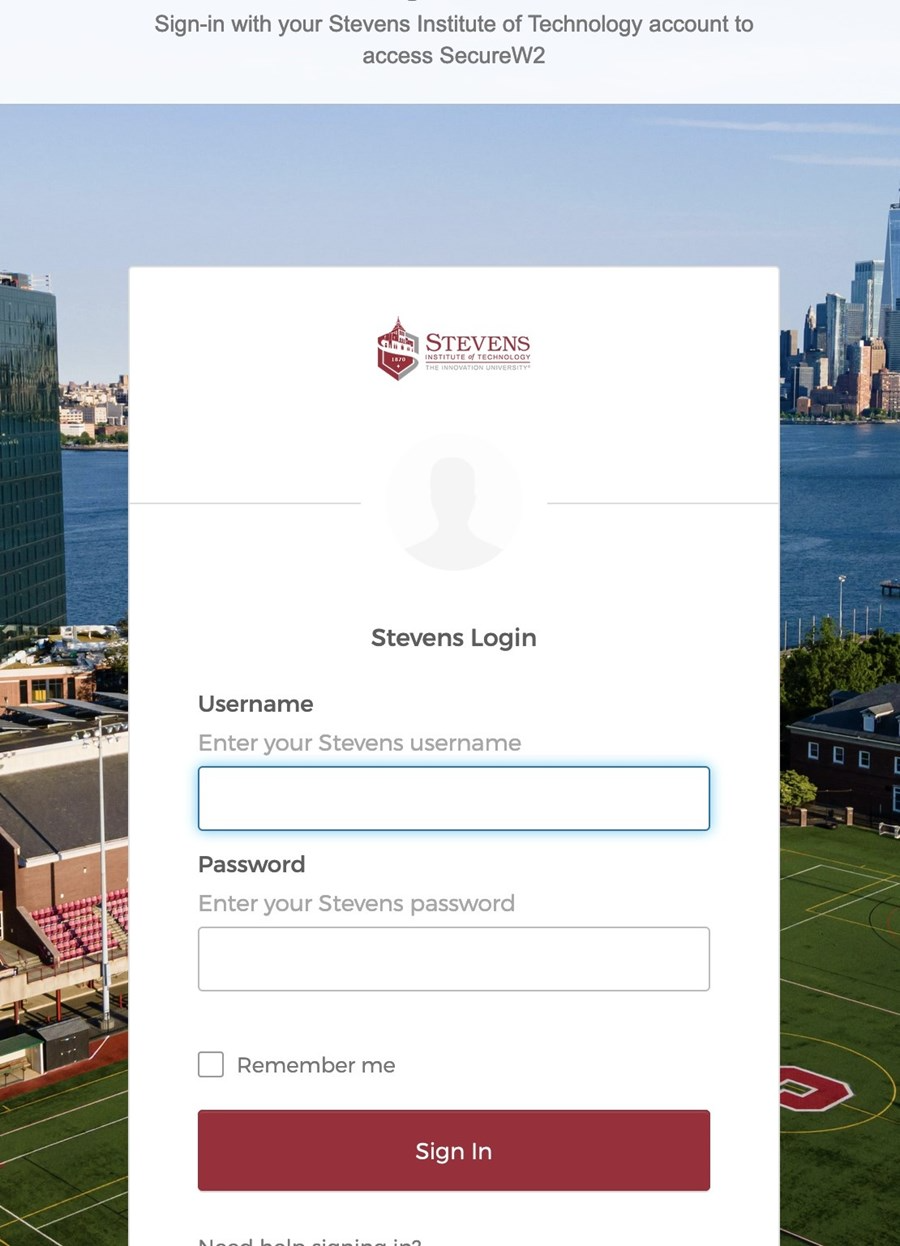
Step 5: Enter your Stevens username and password to authenticate with Single Sign-On (SSO) and select Sign In.
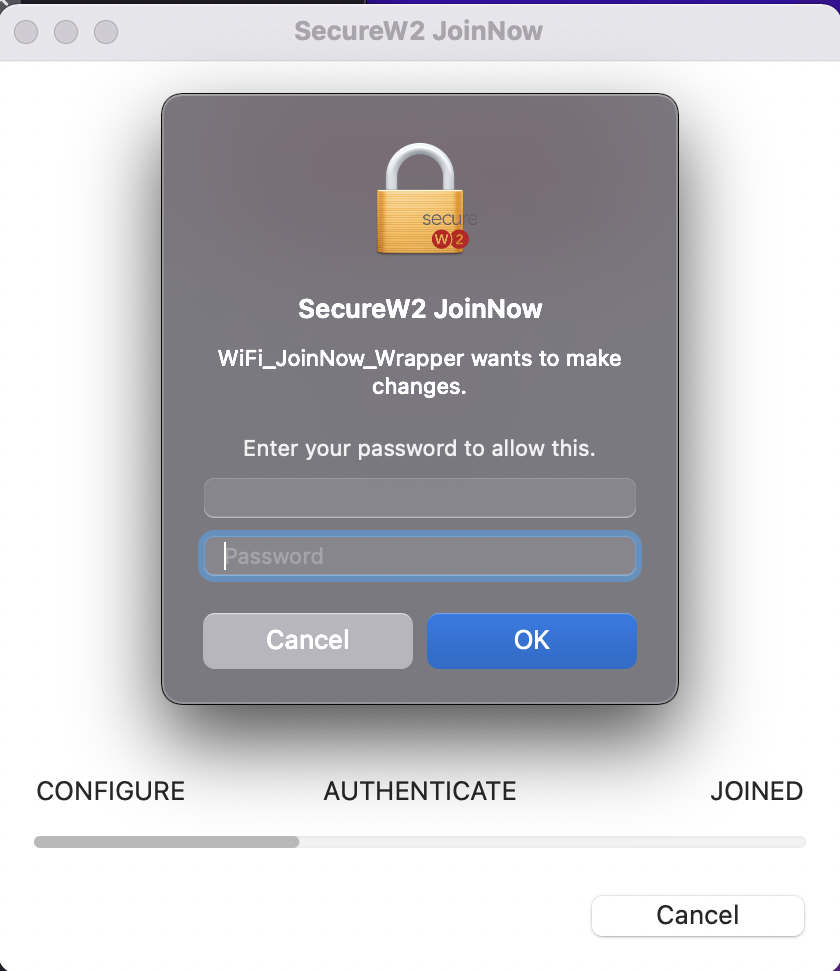
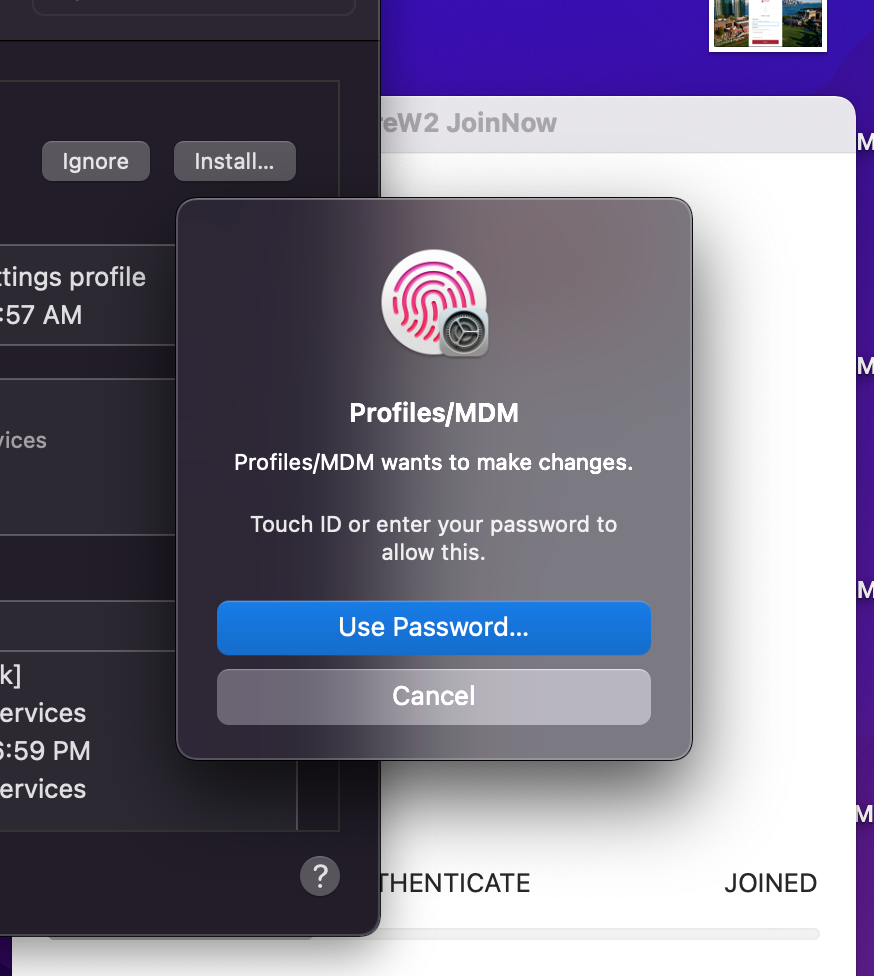
Step 6: After authentication, the SecureW2 application will ask for permission to make changes to your device. Enter your Mac computer's username and password then select OK.
Note: this may occur up to 3 times.
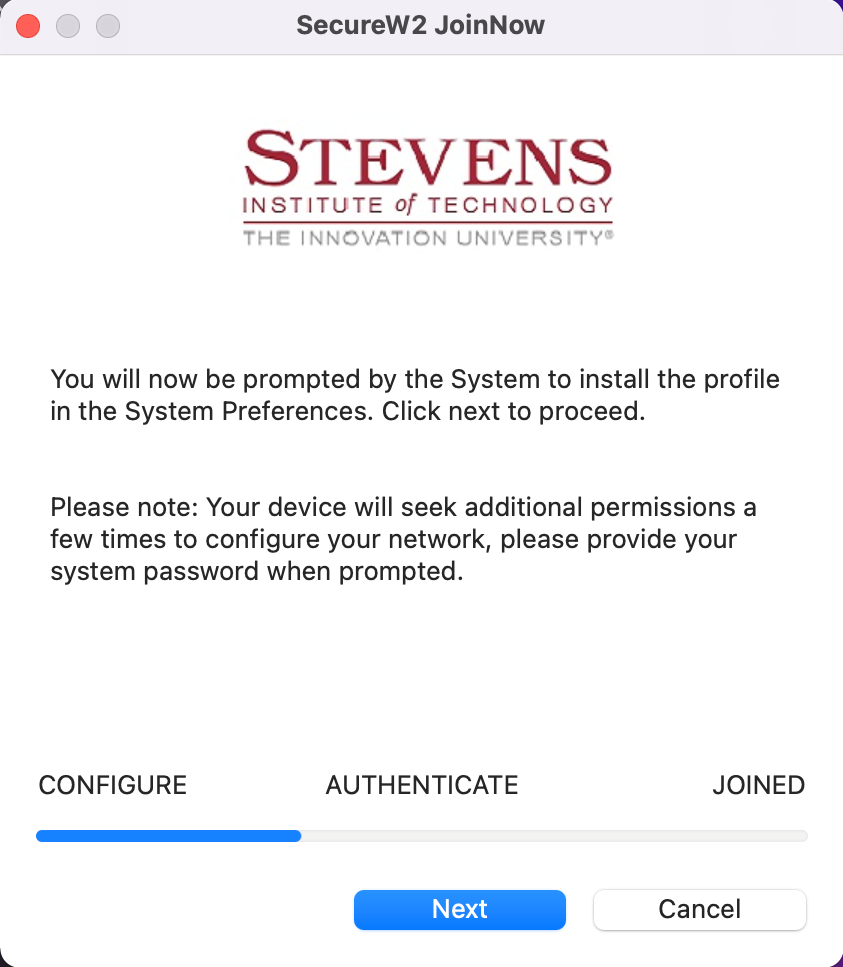
Step 7: SecureW2 will download the Wi-Fi profile to your Mac, select Next.
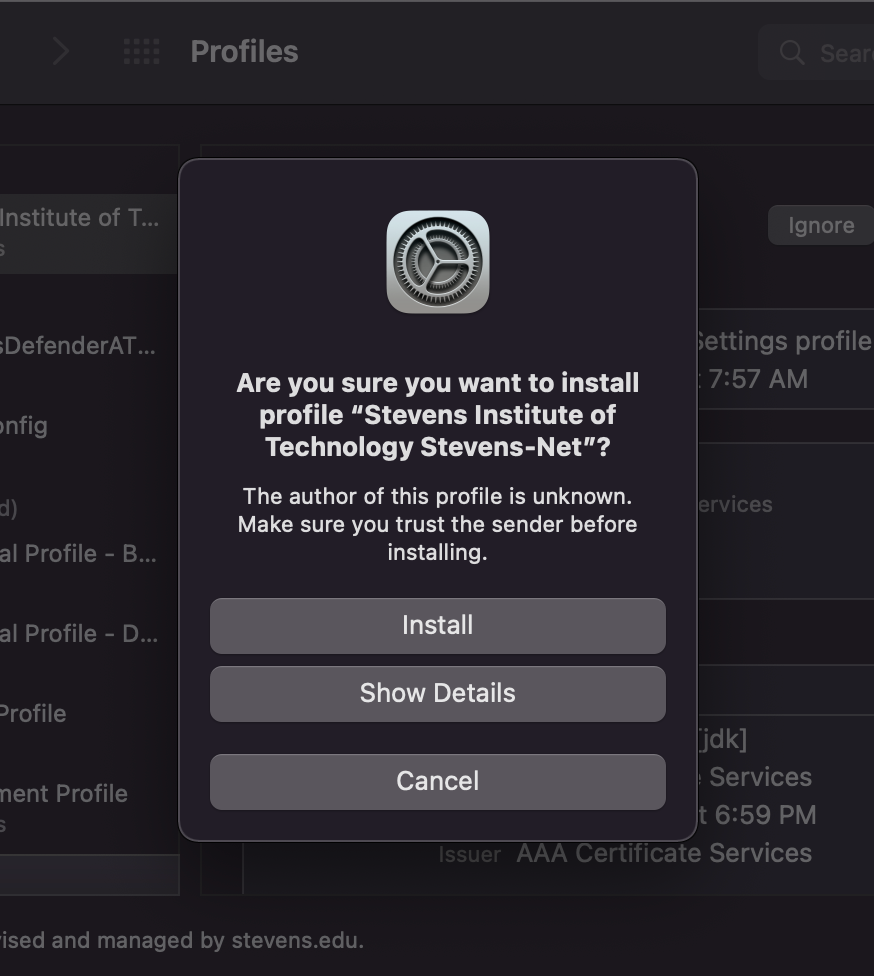
Step 8: Your Mac's Profiles Menu should open automatically after a brief delay, select Install to begin installing the Wi-Fi profile to your device.
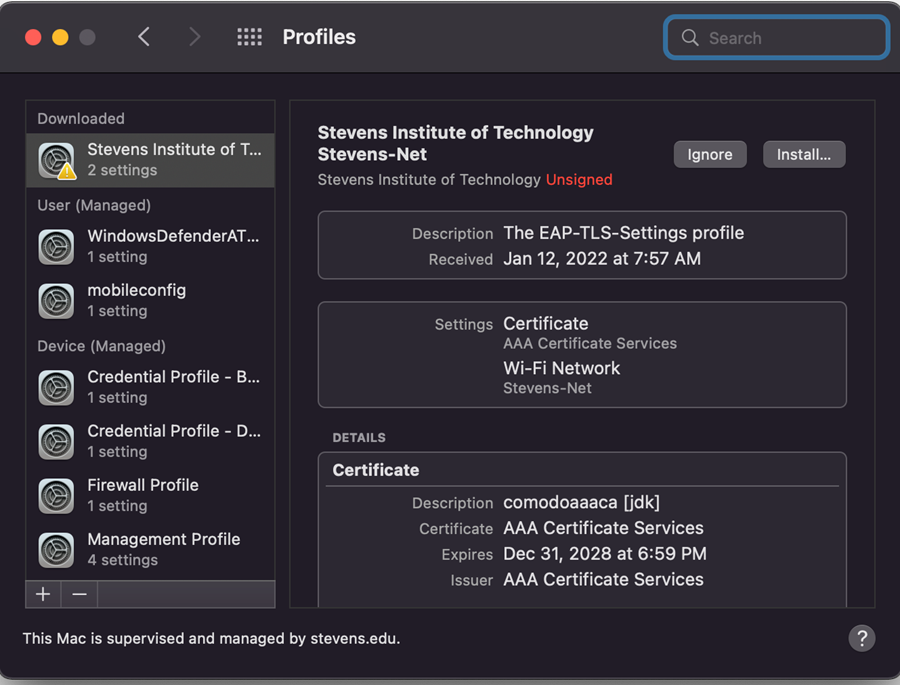
Step 9: When prompted select Install to confirm the Wi-Fi profile installation.
Step 10: You may be prompted to access your keychain, enter your Mac password and select Always Allow.

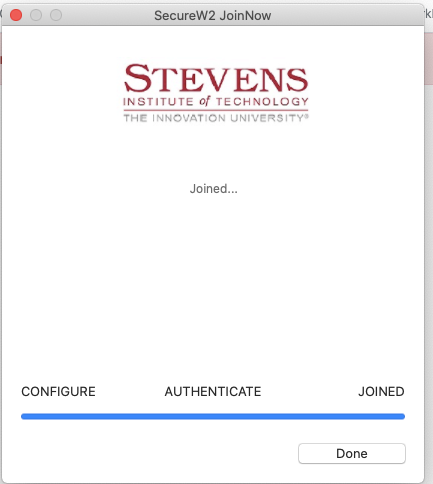
Step 11: In the SecureW2 application it will say 'Joined' once the Wireless Configuration is complete, select Done. Your device is now configured for Eduroam.
Note: If you are completing this process on campus, you may automatically be connected to Eduroam. If so, please reconnect back to Stevens-Net.
Experiencing an issue or need additional support? Contact our OneIT Team by