Set up a Payment Plan in Workday
This article will walk a student through setting up a payment plan in Workday.
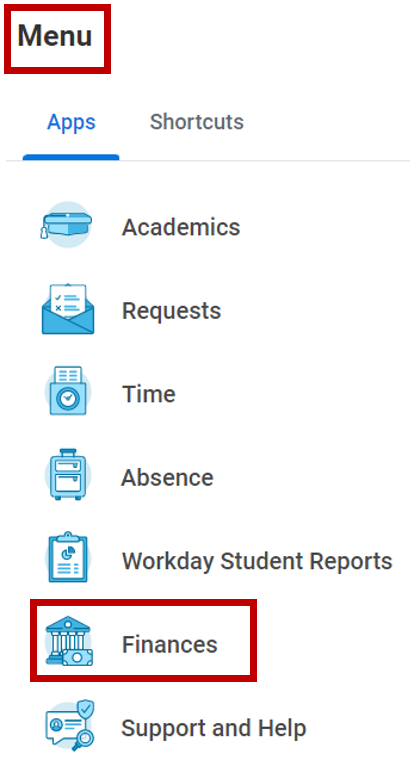
Step 1: From your Workday homepage, select Menu on the top left corner and choose the Finances worklet in Apps tab.
Step 2: Select Set Up a Payment Plan located in the Make a Payment section.
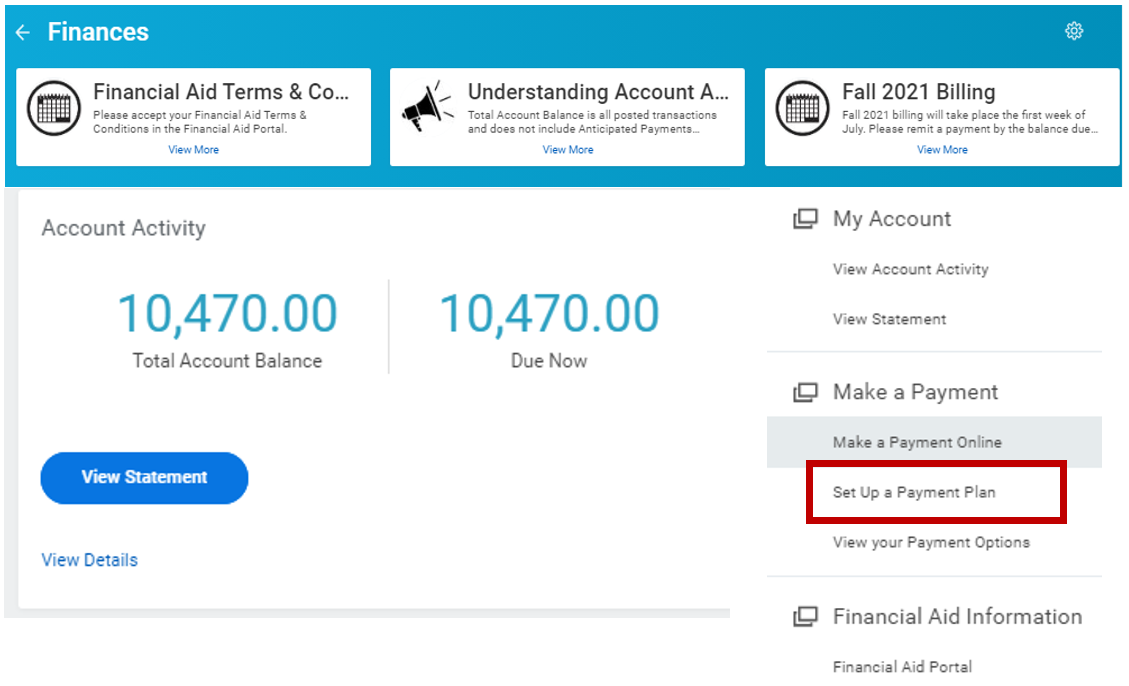
Note: Using your myStevens credentials, you will be redirected to Nelnet.
Step 3: Select Set up a Payment Plan

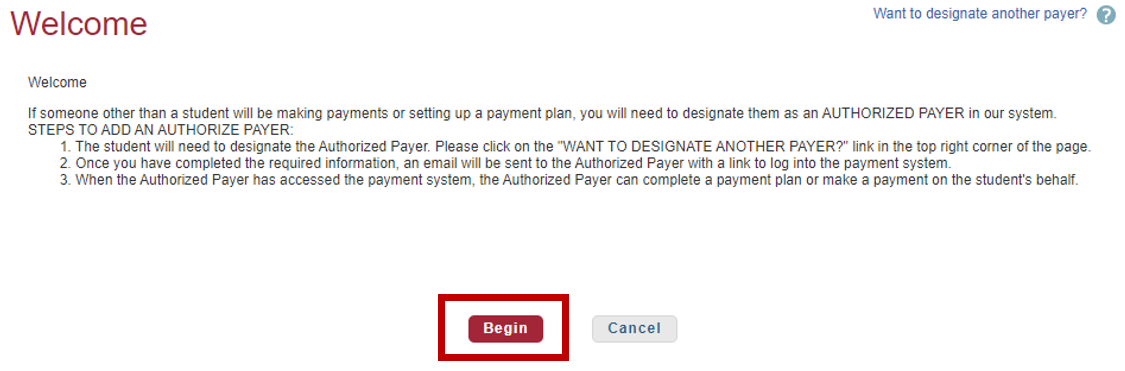
Step 4: Select Begin
Step 5: Verify that all contact information is correct and select Next to continue.

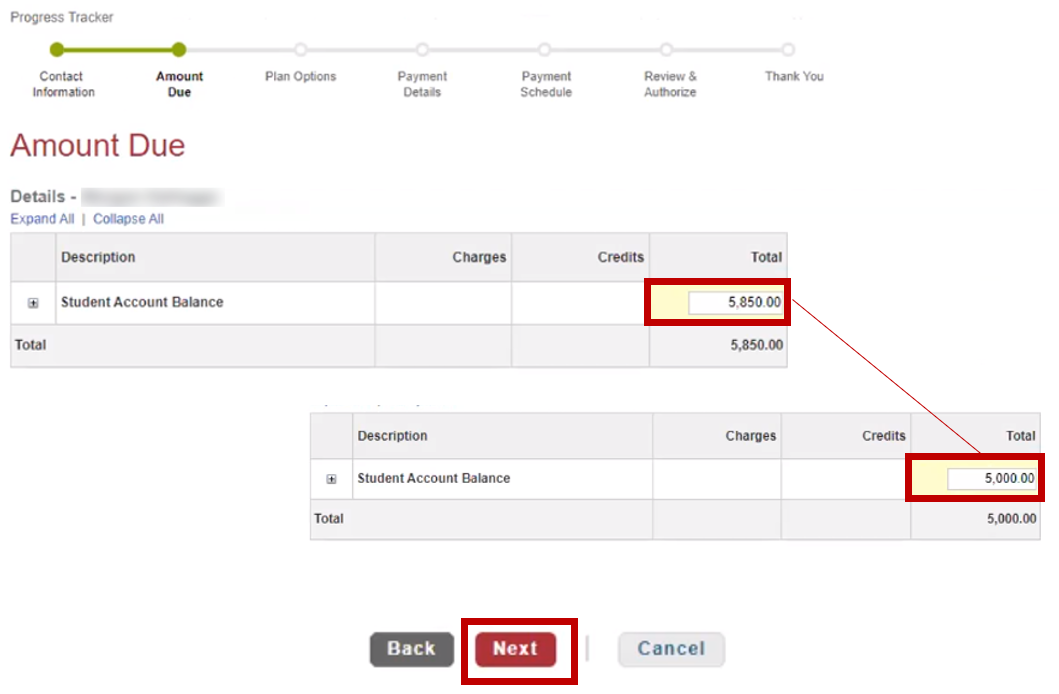
Step 6: To change payment amount, enter Amount in Total field and select Next.
Step 7: Select Monthly Payment Plan – Select Next
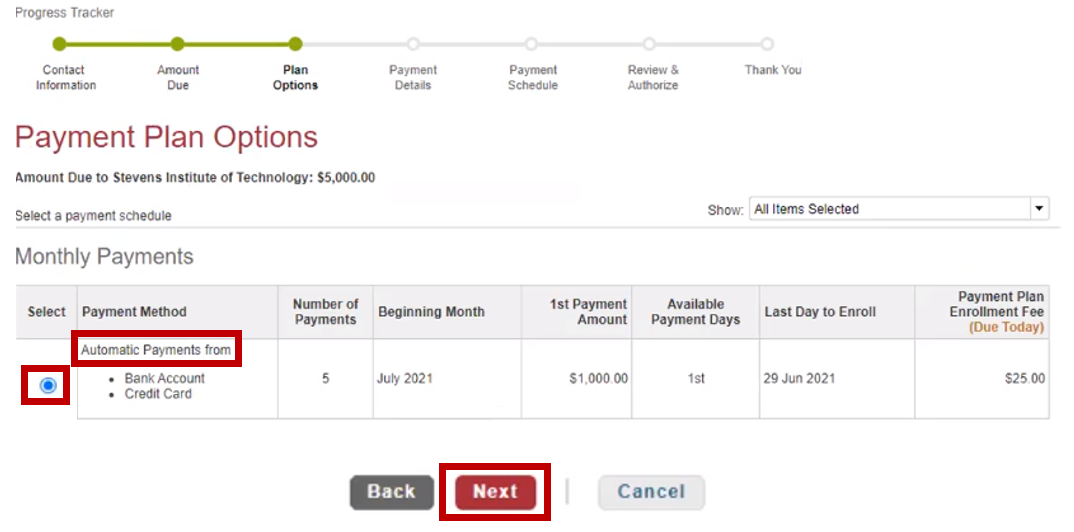
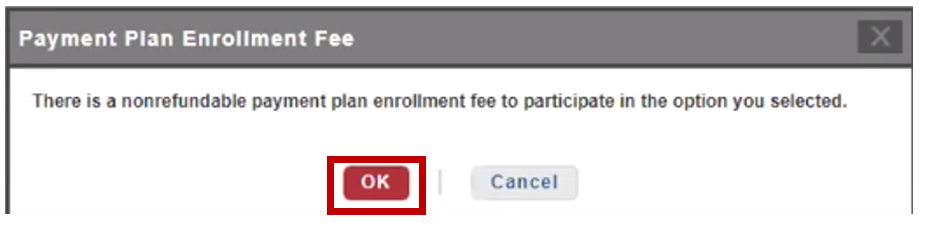
Step 8: Select OK
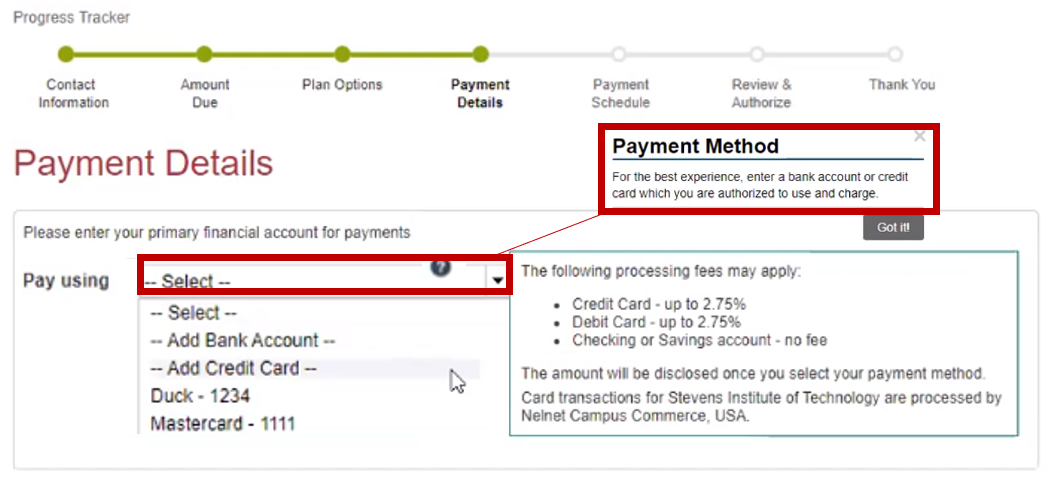
Step 9: Select the Down Arrow to add or select payment method. For more information on payment Methods, select the Question Mark icon.
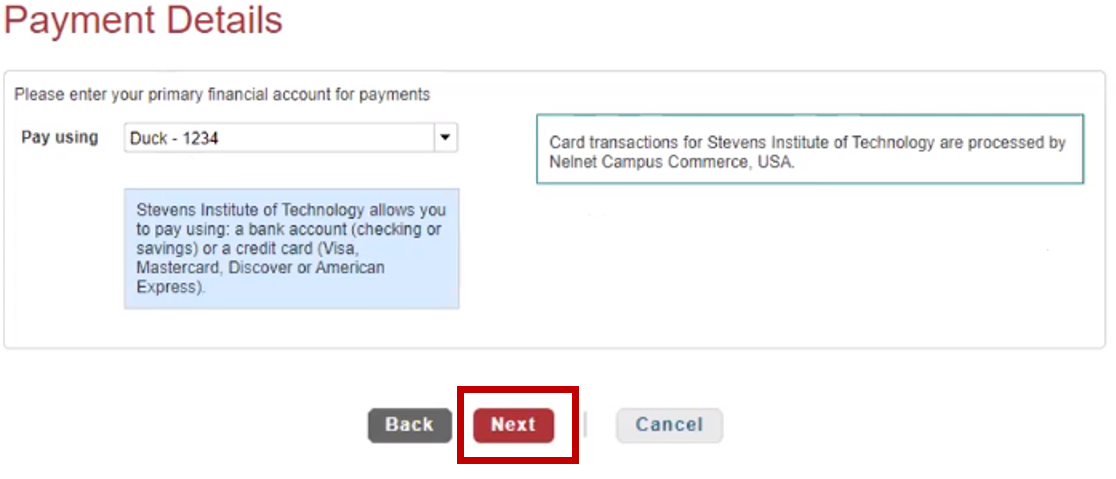
Step 10: Confirm primary financial account for payments – Select Next
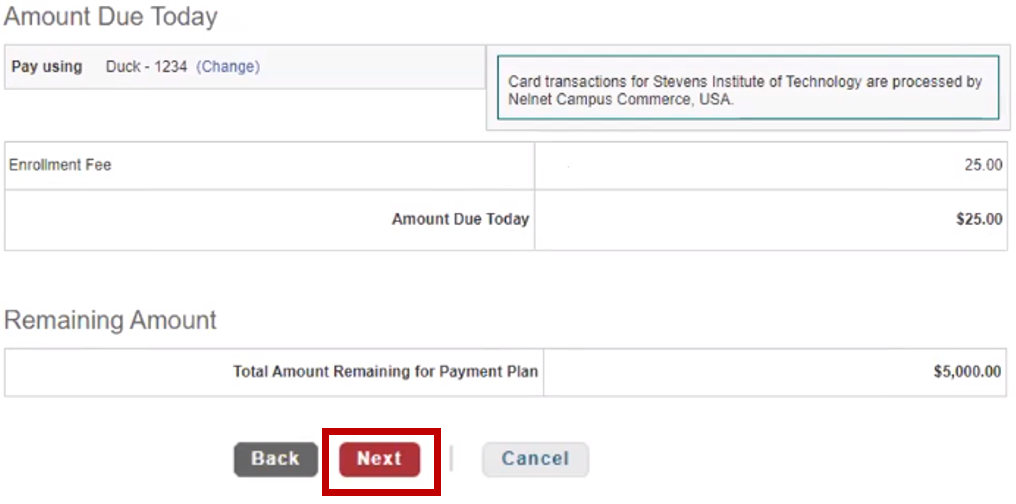
Step 11: Confirm Amount due – Select Next
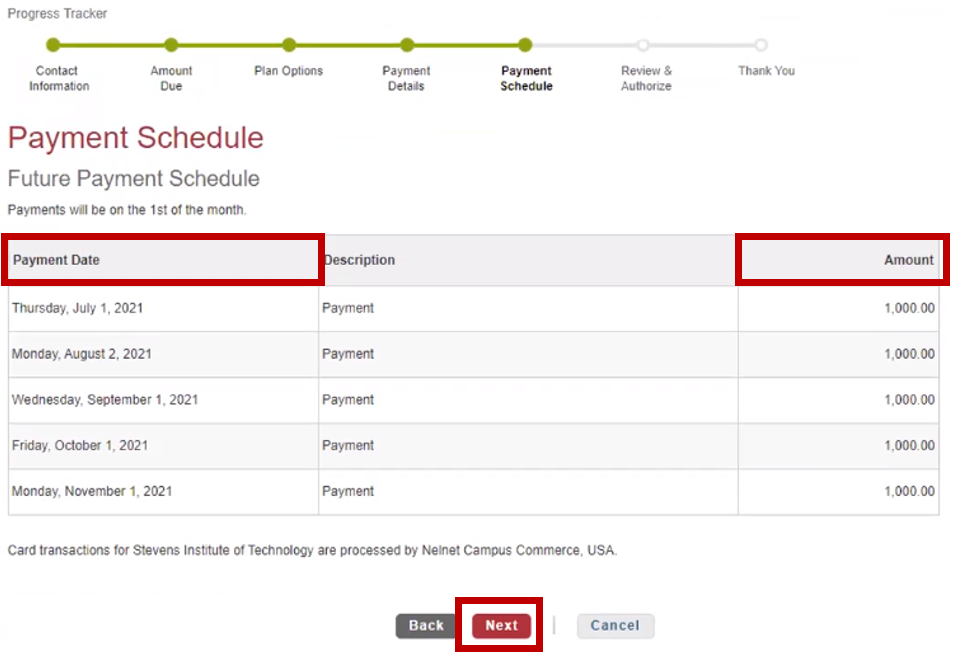
Step 12: Review Future Payment Schedule – Select Next
Step 13: Select Terms and Conditions hyperlink.
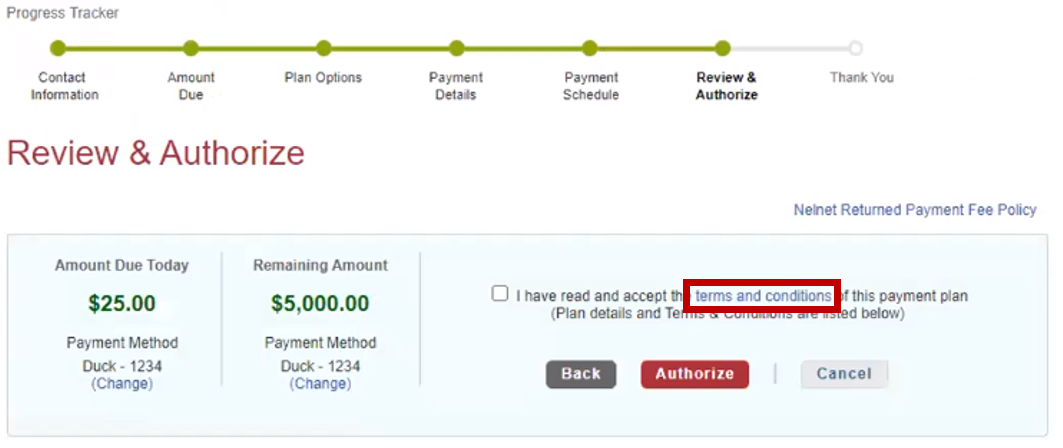
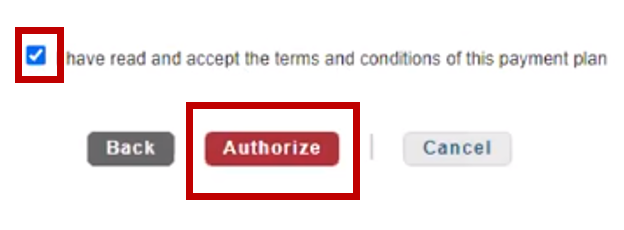
Step 14: Read Terms and Conditions for payment plan agreement. Check off Terms and Conditions agreement – Select Authorize
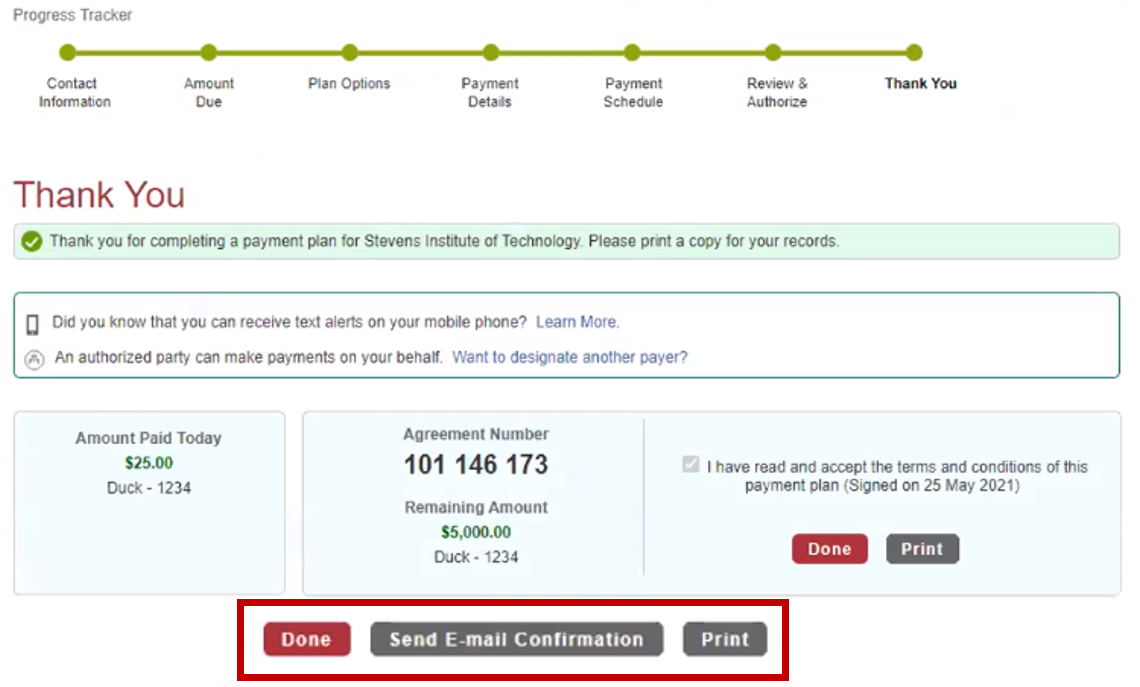
Step 15: Navigate to the bottom of the page to send an E-mail Confirmation, Print, or select Done to navigate to the Nelnet homepage.
Note: If you have any questions about your payment plan, please contact the Office of Student Accounts at studentaccounts@stevens.edu.
Experiencing an issue or need additional support? Contact our OneIT Team by