How to Submit an Event Request Through the University Events Calendar
This guide informs the user on how to to submit an event request through events.stevens.edu.
View a video demonstration ➤
Site Navigation
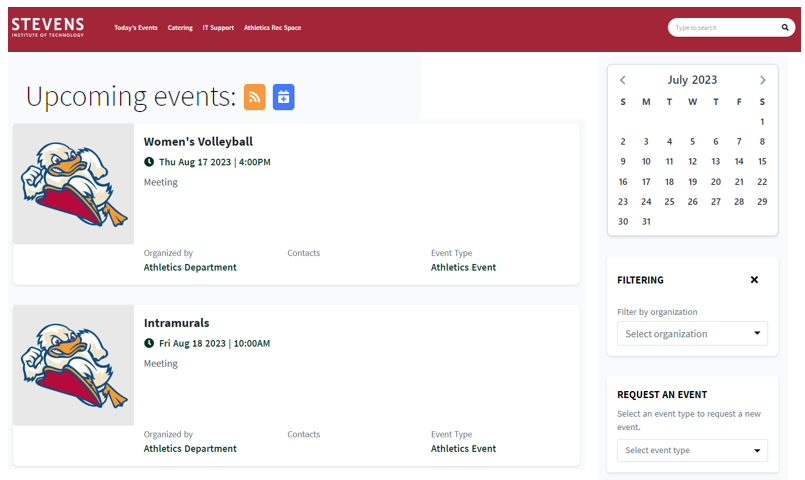
Step 1: Navigate to the University Events Calendar at events.stevens.edu.
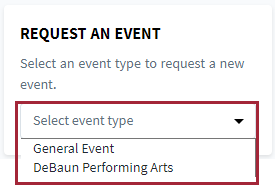
Step 2: Open the Request an Event dropdown menu to select the desired event type. Select DeBaun Performing Arts if your event will take place in DeBaun Auditorium. Select General Event for all other requests.
Requester and Event Information
Step 3: Fill out the information on the Request a New Event screen. Many of the fields are required and are marked with a red asterisk (*).

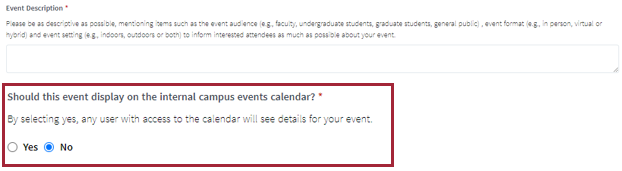
The question “Should this event display on the internal campus events calendar?” defaults to No. Select Yes if you want the event to be displayed for any user on the internal events calendar. This allows any Stevens user to see the event listing.
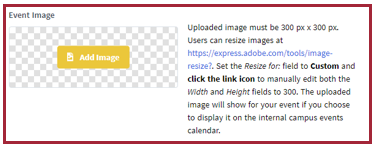
For Event images, the dimensions of the uploaded image must be 300px by 300px. Directions for a free resizing tool are provided next to the Event Image section.
To select multiple audiences in the Event Audience section, use Command + click on each item for Mac users and Ctrl + click on each item for PC users.

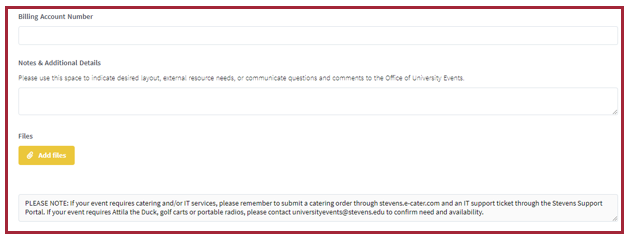
Please Note: IT and catering services are handled separately. Please submit an IT support ticket through the Stevens Support Portal, or a catering order through Stevens Dining Catering, if needed. (Reservation numbers are no longer needed for catering services.)
Meetings and Locations
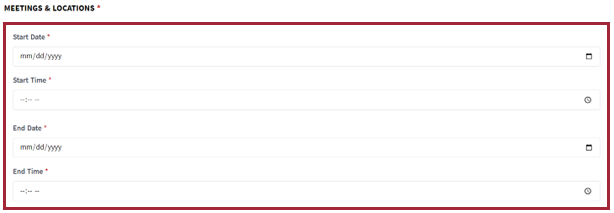
Step 4: Select + Add Meeting to fill out the Meetings & Locations section. Enter Start Date, Start Time, End Date and End Time.
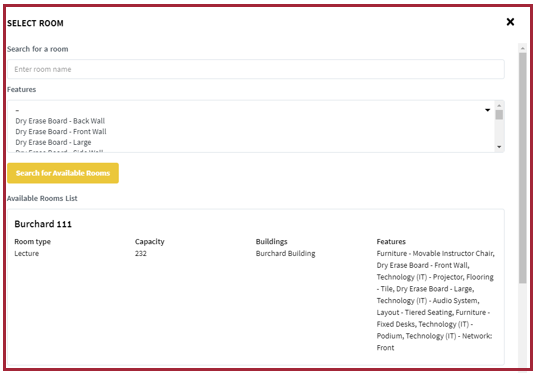
Select Select Room to see the list of room options.

In the Select Room pop-up window, there are numerous ways to select a space. Select Search for Available Rooms to see the full list of spaces available, enter a room name in the Search for a room field, or select a Feature to search for rooms including that feature.
Selecting Search for Available Rooms is the best option as the naming convention of the room may not match your search text.
Each available location shows its Room type, Capacity, Buildings, and Features.
Please note: For events in the Tech Flex Space in the University Center Complex (UCC), there are multiple entries to choose from. You can select UCC Tech Flex Space A (the back section of the space), UCC Tech Flex Space B (the middle section of the space), or UCC Tech Flex Space C (the front section of the space).
If you would like to request the entire auditorium, first create the meeting to select Space A, then duplicate the meeting twice to select Spaces B and C.
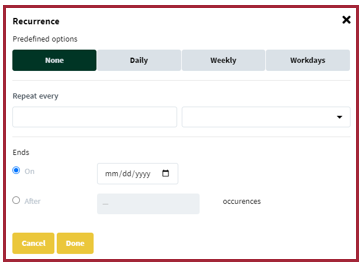
To make an event repeatable, click on the Repeat field.

In the Recurrence popup window, select from the predefined options or create a custom recurrence through the “Repeat every” dropdown menus. To set an end date for these recurring meetings, either select a specific end date or number of occurrences. Select Done.
Select +Add Meeting if you need an additional space for the same event.

Add Resources
To request resources for the event location, select Add Resource.

In the Select Resource pop-up window, either select Search for Available Resources, or enter a resource name in the Search for a resource field.
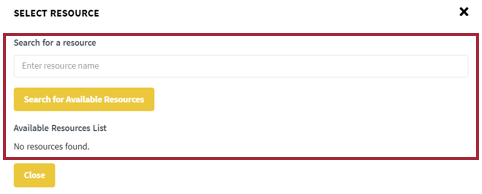
Selecting Search for Available Resources is the best option as the naming convention of the resource may not match your search text.
Each available resource shows its Type, Category, Cost, and Quantity Available.
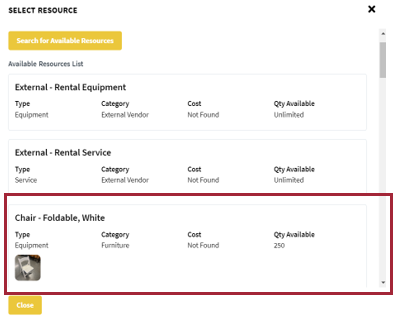
When you select a specific resource, you can set the quantity needed in the Quantity text field. To remove a selected resource, click the Remove button.

Add Contacts
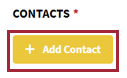
Step 5: Select the +Add Contact to enter the contact information for the event coordinator.
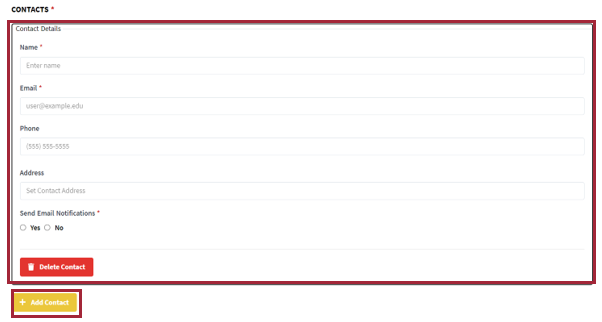
Fill in the contact information requested. Select +Add Contact to add another contact.
Submit the Request
Step 6: Once all the event information is entered, select Submit. The event coordinator will receive email updates throughout the approval process.

Please direct questions or issues to the Office of University Events at universityevents@stevens.edu.