Voting on an Event Request in Coursedog
This article details how users can vote to approve an event request in the Coursedog platform.
Logging into Coursedog
Select the Coursedog icon on the myStevens landing page.
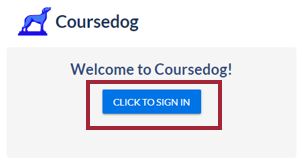
On the following page, select the Click to Sign In button to access Coursedog.
Accessing Requests for Voting and Approval
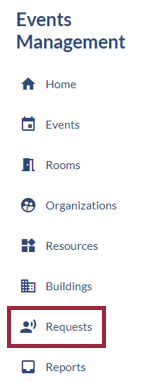
Step 1: On the Coursedog landing page, select Requests under the Events Management menu on the left side of the screen.
Please note: Depending on your level of access to Coursedog, your menu may have different options displayed.
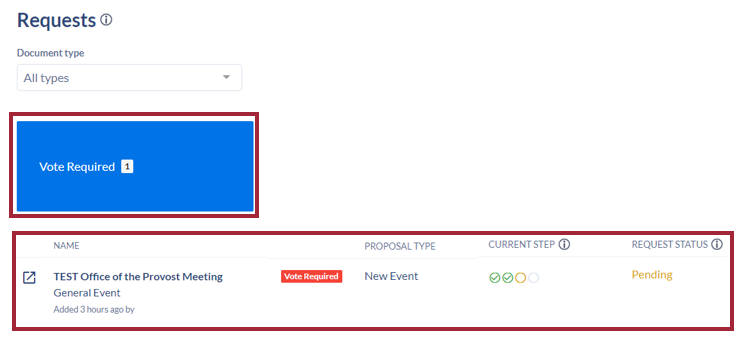
Step 2: In the dashboard, select the Vote Required tab. The number that shows next to Vote Required indicates how many events require your review. Select an event from the list that appears.
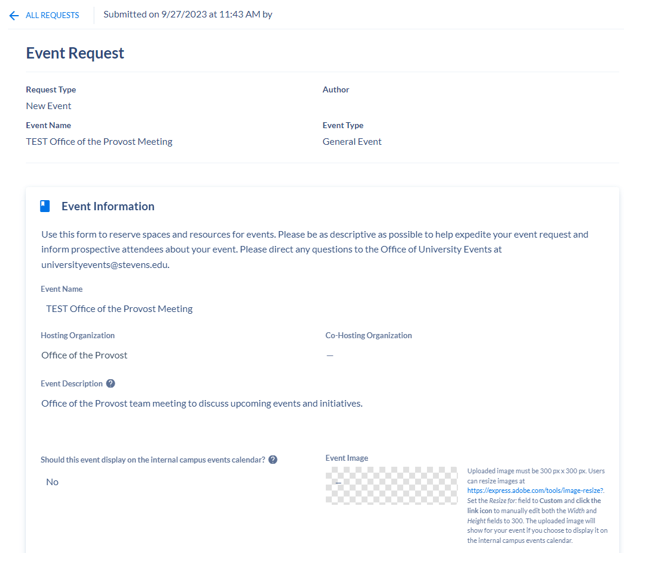
Step 3: Review Event Request details on the left side of the screen.
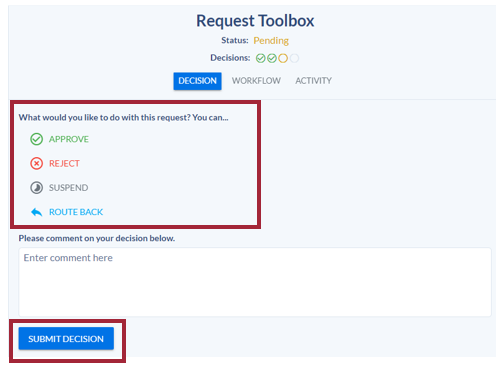
Step 4: In the Request Toolbox on the right side of the screen, select your vote and click Submit Decision.
Step 5: The Request Toolbox now displays the request decision (in this case it was approved). Select the blue Click here link under the Decision tab to view information about the event.
The Workflow tab will show the workflow of the approval process and the Activity tab shows all information added and edited for this request.

Please direct questions or issues to the Office of University Events at universityevents@stevens.edu.